I found this model on Thingverse at this link Non air Hopper, it was exactly what I was looking for as I have been considering scratch building some for a fair while.
 |
 |
| Model as made by designer |
It is a representation of the hundreds of hoppers used by the collieries in the Hunter Valley Australia in the late 19th and early 20th centuries, the hopper bodies were detachable to aid ship loading as can be seen in the Historical Pictures below and the model is a true representation of this.
This model printed very well and assembly was extremely easy with the parts press fitting together, I used 5minute epoxy adhesive instead of the superglue recommended to secure the parts and had no issues.
Components
Sideframes;
Buffer Beams;
Inner Frames;
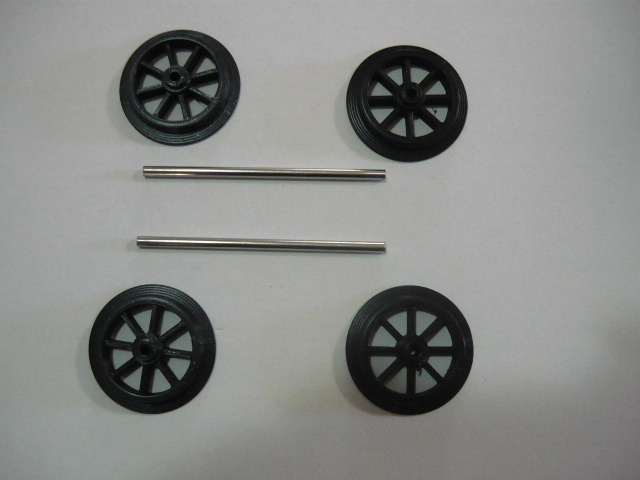
Wheels and Axles;
 |
| Axles are 3mm Stainless Steel Rod |
Wheel Centering & Back to Back Spacing Jig;
There is Wheel Centering Jig and a Back to Back Spacing Jig of the correct 40mm width, (I compared it to my Aristocraft gauge and it is accurate) which helps to make wheel fitment easy, included in the stl files for download.
 |
| Back to Back Spacing and Wheel Centre Jig |
 |
| Dimensions for Wheel Manufacture |
Brake Lever Parts & Buffers;
 |
| Barke parts are joined to the Hanger Bracket by using a small piece of filament |
Couplers & Coupler Adapters (optional fit);
I have opted to use 3D printed (LGB syle) Link & Pin Couplers found on Thingaverse ( LGB compatible Link and Pin ) instead of the Hook and Chain method used by the designer I therefore did not print the hook spring part.
The adapters screw under the inner frames and can be seen in the pictures of the completed model below.
 |
| Coupler Adapters |
 |
| Link and Pin Couplers |
Completed Model
In this first print attempt the hopper and chassis were printed in White PLA+ and painted with Grey Primer the brake parts, wheels and couplers were printed in Black PLA+, the buffers were printed in white and coloured with a felt tip marker.
All further prints will be in Grey PLA+, with the brake parts, wheels, couplers and buffers printed in Black PLA+.
 |
| The mounting pocket for the Chain Hook is visible on the Buffer Beam |


No comments:
Post a Comment